You light your favorite candle, step away for a couple of hours, and come back to find it burning straight down the middle — leaving a thick wall of untouched wax around the edges. That frustrating phenomenon is called tunneling, and it's one of the most common candle problems home users and makers face alike. The good news? It's almost always fixable, and nearly always preventable.
In this guide, we'll walk you through exactly why tunneling happens, how to rescue a candle that's already tunneling, and the simple habits that keep your candles burning wide, even, and beautifully to the very end.
The Science of Candle Tunneling
To understand tunneling, you need to understand how candle wax "remembers." Wax has a physical memory — it tends to melt in the same pattern it established during its very first burn. This is known as the memory burn principle, and it's the single most important concept in candle care.
What Is the Memory Burn?
When you light a candle for the first time, the melt pool (the liquid wax surrounding the flame) sets a precedent. If you extinguish the candle before that melt pool has spread all the way to the edge of the container, the wax "locks in" that smaller diameter as its default. Every subsequent burn will follow that same narrow path — burning down through the center while the outer wax stays solid forever.
This is why candle experts universally recommend burning a new candle long enough on the first use for the melt pool to reach the jar's edges completely — typically one hour per inch of candle diameter. A three-inch candle needs at least three hours on its inaugural burn.
The Role of Wick Size
The second major cause of tunneling is an undersized wick. The wick is the engine of a candle's heat output. A wick that's too thin for the candle's diameter simply cannot generate enough heat to melt wax all the way to the container walls. No matter how patient you are with burn times, an under-wicked candle will tunnel by design.
This is primarily a candle-making issue, but it's worth knowing as a consumer. If a candle consistently tunnels despite correct burn habits, the wick may genuinely be too small for the vessel — a formulation flaw rather than a user error.
Step-by-Step Fixes for a Tunneling Candle
If your candle is already tunneling, don't throw it away. Two reliable methods can rescue it: the foil trick and the heat gun method. Both aim to melt the unburned wax walls so they can be incorporated into the melt pool.
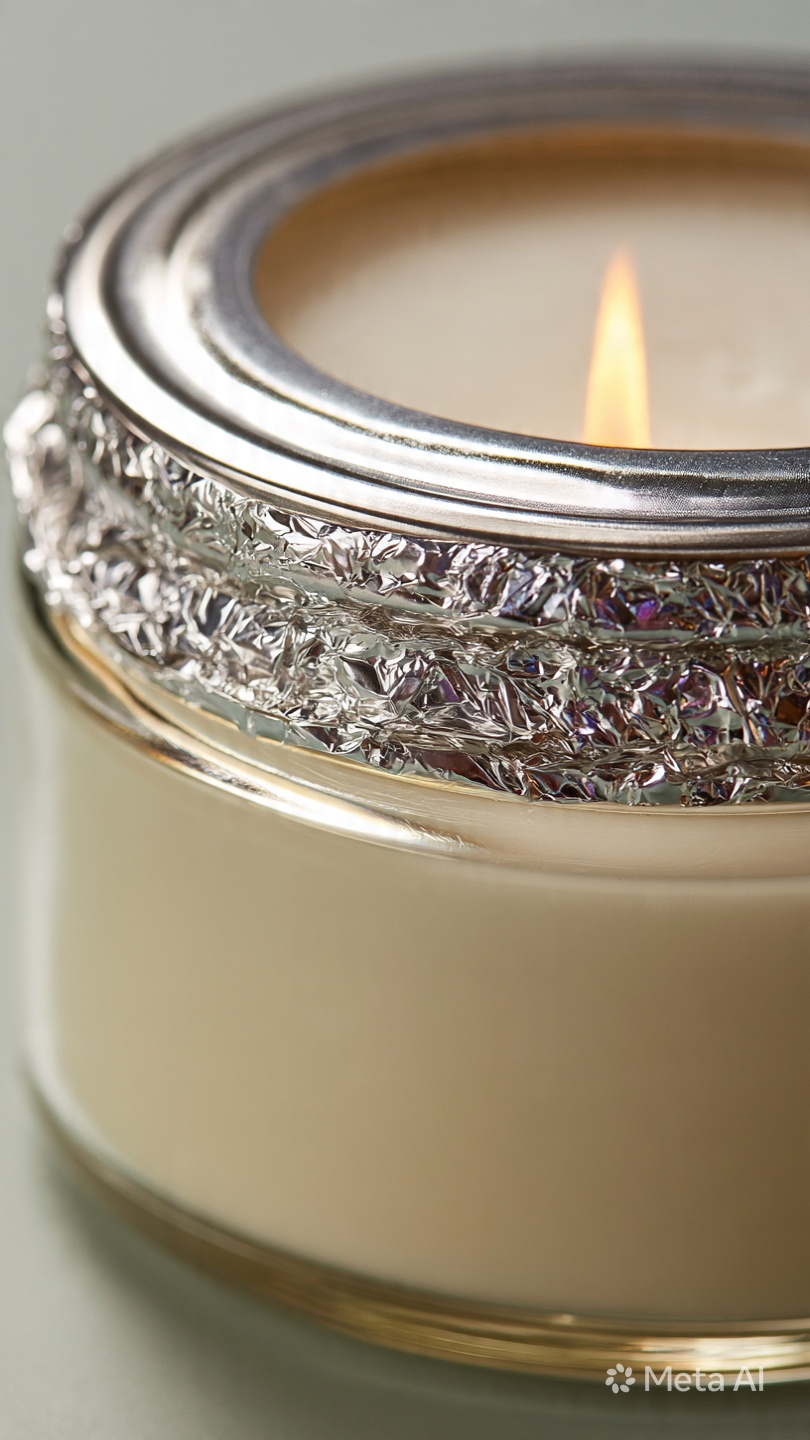
Method 1: The Foil Trick
This is the most accessible fix because it requires nothing more than aluminum foil from your kitchen.
- Step 1 — Light the candle. Let it burn for 30–45 minutes so there is an active flame and some liquid wax in the center tunnel.
- Step 2 — Tear a sheet of aluminum foil large enough to wrap over the top of the candle jar with a few inches of overhang on each side.
- Step 3 — Tent the foil over the candle. Fold the foil loosely over the jar opening, leaving a small hole (about 1 inch wide) in the center directly above the flame. This hole allows oxygen in to keep the flame alive while the foil creates a reflective heat dome.
- Step 4 — Wait 30–60 minutes. The trapped heat will gradually soften and melt the wax walls inward. Check every 20 minutes to ensure the candle is burning safely and the foil is not overheating.
- Step 5 — Remove the foil carefully using oven mitts or tongs — the foil will be hot. Allow the full melt pool to cool and solidify completely before relighting.
Safety note: Never leave a foil-tented candle unattended, and never let the foil touch the flame directly.
Method 2: The Heat Gun Method
A heat gun gives you more precision and control, making it the preferred choice for candle makers or anyone who works with candles regularly.
- Step 1 — Extinguish the candle and let it cool for 10 minutes so it is warm but not actively burning.
- Step 2 — Set your heat gun to a low temperature — between 150°F and 160°F (65–71°C). Higher temperatures can cause the wax to bubble, discolor, or release fragrance oils unevenly.
- Step 3 — Hold the heat gun 4–6 inches above the candle surface and move it in slow, circular motions. Avoid concentrating heat in one spot for more than a few seconds.
- Step 4 — Watch for the wax walls to soften and collapse inward. Work gradually — you want even melting, not a boiling pool. This process typically takes 3–5 minutes.
- Step 5 — Let the surface cool and re-solidify completely before lighting again. This usually takes 1–2 hours at room temperature.
Once the wax has reset flat, relight the candle and allow a full memory burn — all the way to the edges — before extinguishing again.
Expert Prevention Tips
Fixing tunneling is satisfying, but preventing it in the first place is far better. These habits will keep every candle burning evenly from start to finish.
Respect the First Burn Above All Else
This cannot be overstated: the first burn is the most important burn. Clear your schedule before you light a new candle for the first time. A three-inch jar candle needs a minimum of three uninterrupted hours. A four-inch pillar needs four. Do not blow it out early because you're leaving the house or going to bed — wait until the melt pool reaches wall to wall, or hold off lighting it until you have enough time.
Trim Your Wick Before Every Burn
A wick that is too long burns hotter than necessary, creating an uneven, sometimes mushrooming flame that can paradoxically cause uneven melting. Trim your wick to ¼ inch (6mm) before every single lighting. A wick trimmer is inexpensive and makes an enormous difference in burn consistency.
Burn in Appropriate Increments
After the first burn, continue burning your candle for at least 2 hours per session — long enough for the melt pool to re-establish itself across the full diameter. Burning for only 20–30 minutes repeatedly will gradually retrain the wax memory toward a narrower pool, restarting the tunneling cycle.
Avoid Drafts
Burning a candle near open windows, fans, or air vents creates an uneven flame that pushes heat to one side of the jar. Over time, this asymmetric burning can cause uneven wax consumption. Keep candles in a stable, low-draft environment for the most uniform burn.
Frequently Asked Questions
How do I fix a tunneled candle without a heat gun?
The foil method is your best option without a heat gun — it's effective, safe, and uses materials anyone has at home. Simply tent aluminum foil over the lit candle with a small hole above the flame, and allow the trapped heat to soften the wax walls over 30–60 minutes. Alternatively, if the tunnel is shallow, you can carefully pour off some of the pooled liquid wax into a heat-safe cup to lower the overall wax level, then allow the candle to cool and re-melt more broadly on the next burn. For very deep, hardened tunnels, a warm oven (the lowest setting, around 170°F) with the candle placed inside for 5–10 minutes can also soften the surface — but this method requires careful monitoring and should never be used with candles in non-oven-safe containers.
Does tunneling mean my candle is low quality?
Not necessarily. Tunneling is most commonly caused by user habits — specifically ending the first burn too early — rather than a defect in the candle itself. Even premium, well-made candles will tunnel if the memory burn rule isn't followed. That said, a chronically tunneling candle that misbehaves even with correct burn practices may indicate an undersized wick, which is a formulation issue on the manufacturer's part. If you've followed every prevention tip and the candle still tunnels within 30 minutes of lighting, contact the maker — a quality brand will stand behind their product.
In short: tunneling is a solvable problem. With the right knowledge and a little patience, you can rescue a tunneling candle and ensure every future one burns perfectly clean, wide, and waste-free.