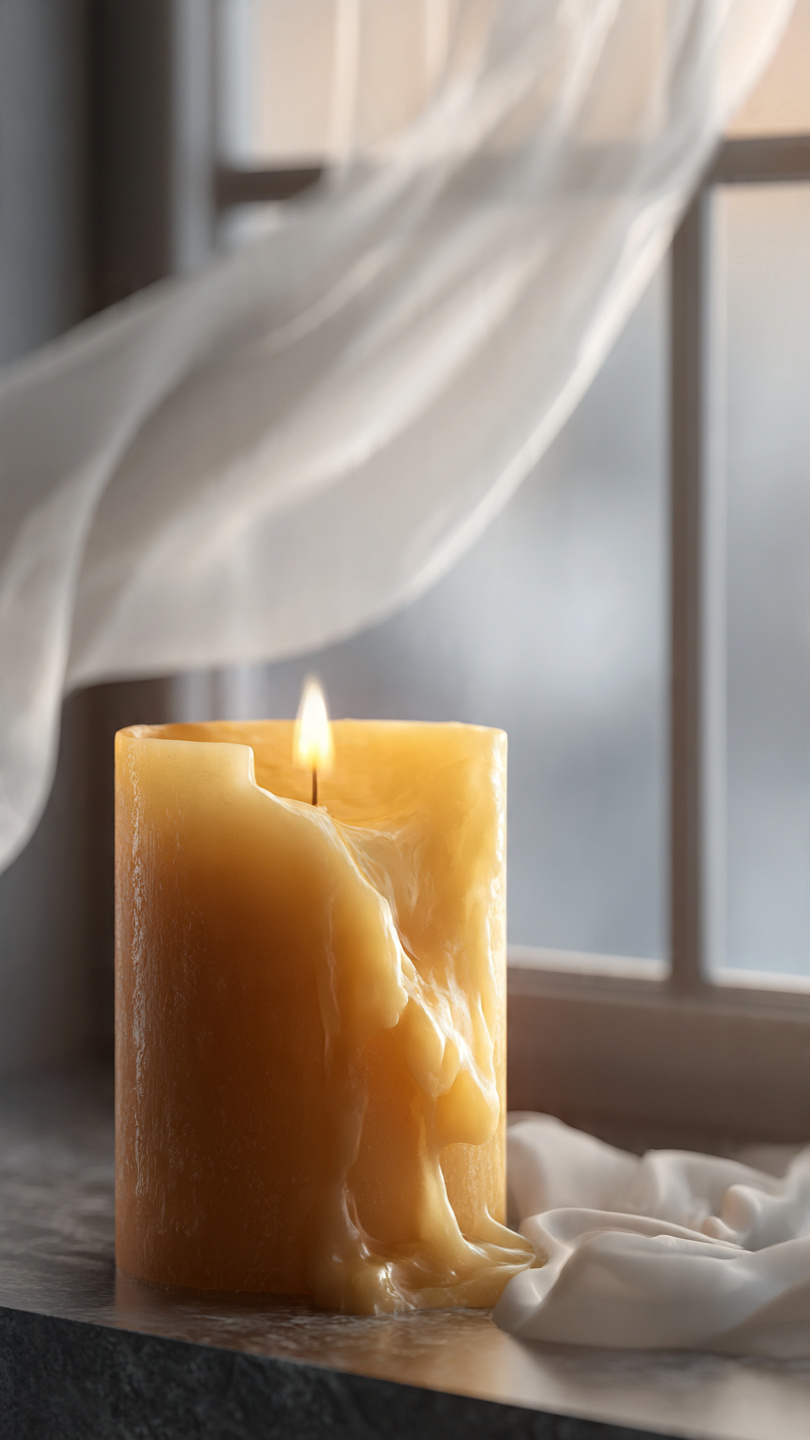
There's something quietly maddening about watching a candle melt down one side while the other stays perfectly intact — a lopsided puddle of wax against a wall of solid, untouched material. Beyond the aesthetic frustration, uneven burning wastes wax, shortens burn time, and can create unstable flame conditions as the candle gets lower in the jar. The cause, however, is almost never mysterious. Uneven burns follow clear, diagnosable patterns, and once you know what to look for, the fix takes less than five minutes.
The Root Causes of Uneven Candle Burning
Before reaching for a fix, it's worth understanding what's actually driving the lopsided melt. In the vast majority of cases, one of three culprits is responsible: ambient airflow, wick drift, or an unlevel burning surface. Often two or three of these factors combine, which is why the problem can persist even after addressing just one.
Drafts and Ambient Airflow
This is the most common and most overlooked cause of uneven burning. A candle flame is extremely responsive to air movement — even a gentle, barely perceptible current is enough to push the flame consistently toward one side of the jar. When the flame leans, it concentrates heat in one direction, melting wax on that side while the opposite wall stays cool and solid.
The tricky part is that the draft doesn't have to feel obvious. Common sources include air conditioning vents, ceiling fans set to low, open windows across a room, the airflow created by foot traffic through a doorway, and even the convective currents generated by nearby electronics. A candle sitting on a kitchen counter near a range hood or a bathroom shelf under an exhaust fan is almost guaranteed to burn unevenly.
The telltale sign of a draft-caused lopsided burn is a flame that visibly flickers or leans in a consistent direction rather than standing relatively upright. If you watch your candle for 30 seconds and the flame never truly straightens, airflow is almost certainly the primary driver.
Wick Drift
A wick that has shifted off-center — even by a few millimeters — will burn unevenly because the heat radiates in an asymmetric pattern from its position. This can happen during the manufacturing process if the wick wasn't anchored precisely, but it can also develop gradually through use. As wax melts and re-solidifies repeatedly, the wick can be pushed or pulled slightly toward the container wall, often in the direction of a persistent draft. Each successive burn reinforces that drift further.
Wick drift is most visible when the candle is extinguished and the wax re-solidifies — you can see the wick sitting clearly off to one side rather than centered. If the wick is within about 3–4mm of the jar wall, it is close enough to be a fire hazard in addition to a performance problem, as the concentrated heat can cause the glass to crack or overheat.
An Unlevel Burning Surface
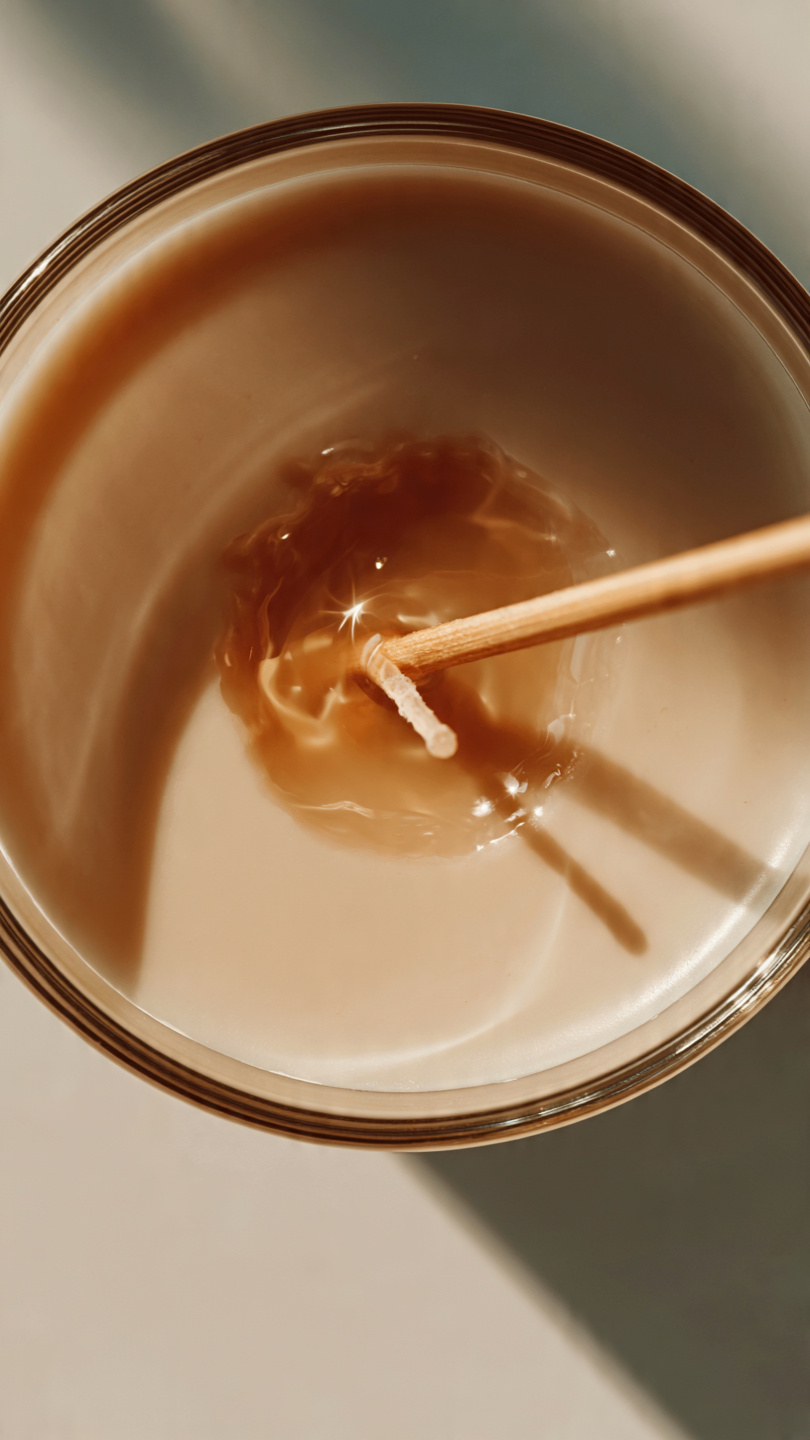
This cause is the simplest and the easiest to overlook. Gravity will always pull liquid wax downhill, and even a surface that appears level to the eye can have enough tilt to direct the melt pool away from center over the course of a long burn. A candle on a slightly tilted shelf, a windowsill with a subtle slope, or a mantelpiece that has settled unevenly over time will consistently produce a deeper melt pool on the low side and a thicker wax wall on the high side. If your candle burns unevenly but the flame appears straight and still, check the level of your surface first.
How to Fix a Lopsided Candle Burn
The following three techniques address uneven burning directly — two can be applied to a candle that is already lit and actively burning lopsided, and one corrects the physical position of the wick itself.
Fix 1: Eliminate the Draft Source
Before applying any physical fix, remove the airflow that's driving the problem. Move the candle away from vents, close nearby windows, or turn off overhead fans. If you want the candle to remain in its current position, consider repositioning it so that any residual air movement strikes the jar from a neutral angle rather than a consistent side. Once the flame is burning straight and calm, the melt pool will begin to self-correct within 20–30 minutes as heat distributes evenly across the wax surface.
Fix 2: The Foil Collar Method
The foil collar is the fastest and most effective fix for a candle that is already mid-burn with a lopsided melt pool. It works by creating a heat-reflective enclosure around the top of the jar that forces warmth to concentrate on the side of the candle that hasn't been melting.
- Step 1 — Tear a sheet of aluminum foil roughly twice the circumference of your candle jar and about 4 inches tall.
- Step 2 — Wrap the foil around the outside of the jar, forming a collar that rises about 1–1.5 inches above the jar's rim. Crimp it loosely so it holds its shape but doesn't press against the glass.
- Step 3 — On the side of the candle where the wax wall is thickest and most unmelted, fold the top edge of the foil inward slightly — creating a partial roof over that side only. This directs reflected heat toward the problem area.
- Step 4 — Leave a generous opening on the opposite side (the side that has been over-melting) so that heat can escape there and naturally reduce.
- Step 5 — Allow the candle to burn with the collar in place for 30–60 minutes, checking every 15 minutes. As the thick wax wall softens and the melt pool begins to level out, remove the foil carefully using tongs or an oven mitt — the foil will be hot.
Never leave a foil-collared candle unattended, and ensure the foil never contacts the flame directly.
Fix 3: Re-Centering the Wick Mid-Burn
If wick drift is your problem, it needs to be corrected while the wax is in a liquid state — attempting to move a wick in solid wax risks breaking it. Wait until the candle has been burning for at least 45 minutes and the melt pool is fully liquid. Then, using a wick-centering tool, a pencil, or a straightened paper clip, gently nudge the base of the wick back toward the center of the jar. Work slowly — the liquid wax is hot, and you want to reposition the wick without disturbing the melt pool or splashing wax onto the flame.
Once re-centered, hold the wick in place for 20–30 seconds to allow the soft wax around its base to grip it in its new position. Extinguish the candle carefully and allow it to cool completely before relighting. The re-solidified wax will anchor the wick in its corrected position for future burns.
Pro-Level Prevention: Getting the Wick Right Before the First Pour
The most durable solution to uneven burning is prevention — specifically, ensuring the wick is precisely centered before the wax ever sets around it.
Use a Wick-Centering Tool
Wick-centering bars — also called wick holders or wick-centering guides — are inexpensive slotted bars that rest across the top of a candle jar and hold the wick in exact center while the wax is poured and cools. They're available in packs of 50 or more for just a few dollars and are one of the highest-return investments in candle making. Without one, a wick tab sitting in an empty jar can shift easily when hot wax hits it. With one, it cannot move at all during the critical cooling phase.
Prep the Jar for a Stable Set
Place your candle jar on a verified-level surface before pouring — use a small spirit level if you're not certain. Pre-warming the jar to around 100–110°F before pouring also slows surface cooling and gives the wick less opportunity to drift as the wax sets. Once poured, do not move the jar until the wax is fully solid. Any disturbance while the wax is semi-liquid can shift the wick from its centered position, setting up the very drift problem you're trying to avoid.
Check Wick Position After Every Burn
Make it a habit to inspect wick position each time you extinguish a candle — while the wax is still slightly soft but the flame is out. A wick that has drifted 1–2mm is easy to nudge back to center in this state. A wick that has drifted 5mm over three burns is a structural problem. Catching it early makes correction effortless.
Frequently Asked Questions
How do I fix a lopsided candle?
The fastest fix for a candle already burning lopsided is the foil collar method — wrap aluminum foil around the jar with the folded edge directing heat toward the unmelted wax wall, and leave it in place for 30–60 minutes while monitoring closely. If the lopsided burn is caused by a drifted wick rather than airflow, re-center the wick mid-burn while the wax pool is fully liquid using a thin tool, then extinguish and allow to fully cool before relighting. For long-term results, combine both fixes with a level surface and a draft-free environment.
Do drafts make candles burn unevenly?
Yes — drafts are the single most common cause of uneven candle burning, and they work faster than most people expect. Even a subtle, continuous air current of just 1–2 mph is enough to lean a candle flame consistently toward one side, concentrating heat there and leaving the opposite side cold. The effect compounds over a long burn: the more the wax melts on the draft-facing side, the deeper and more liquid that area becomes, which actually accelerates melting on that side while the untouched wall grows thicker. Sources aren't always obvious — ceiling fans, HVAC vents, range hoods, slightly open doors, and even the passive airflow from a nearby window can all be responsible. If your candle burns unevenly and you can't identify any other cause, methodically check for airflow from every direction before concluding the wick or surface is the problem.
An evenly burning candle isn't a matter of luck — it's a matter of eliminating the three conditions that prevent it. Control the air, center the wick, and level the surface, and you'll never deal with a lopsided melt pool again.